Introduction
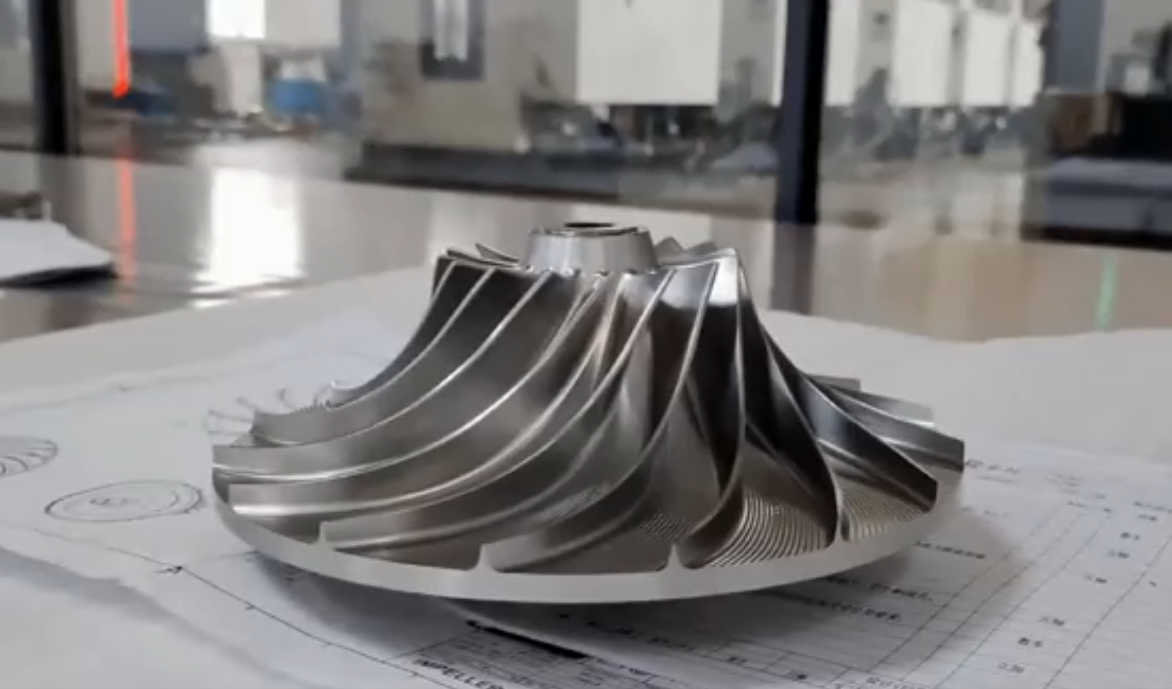
In the realm of advanced manufacturing, 5-axis CNC machining centers stand as a pinnacle of precision and versatility. This case study, approached from the perspective of a project engineer, showcases a real-world application of a 5-axis CNC machine to fabricate a complex aerospace component, demonstrating its capabilities, challenges overcome, and the engineering insights gleaned throughout the process.
Project Overview
The project at hand involved the machining of a titanium alloy (Ti-6Al-4V) aircraft engine bracket. The part required intricate contours, deep pockets, and precise holes drilled at various angles, making it an ideal candidate for 5-axis machining. The objective was to achieve tolerances within 5 microns while maintaining surface finish requirements critical for aerospace applications.
 Machine Selection Machine Selection
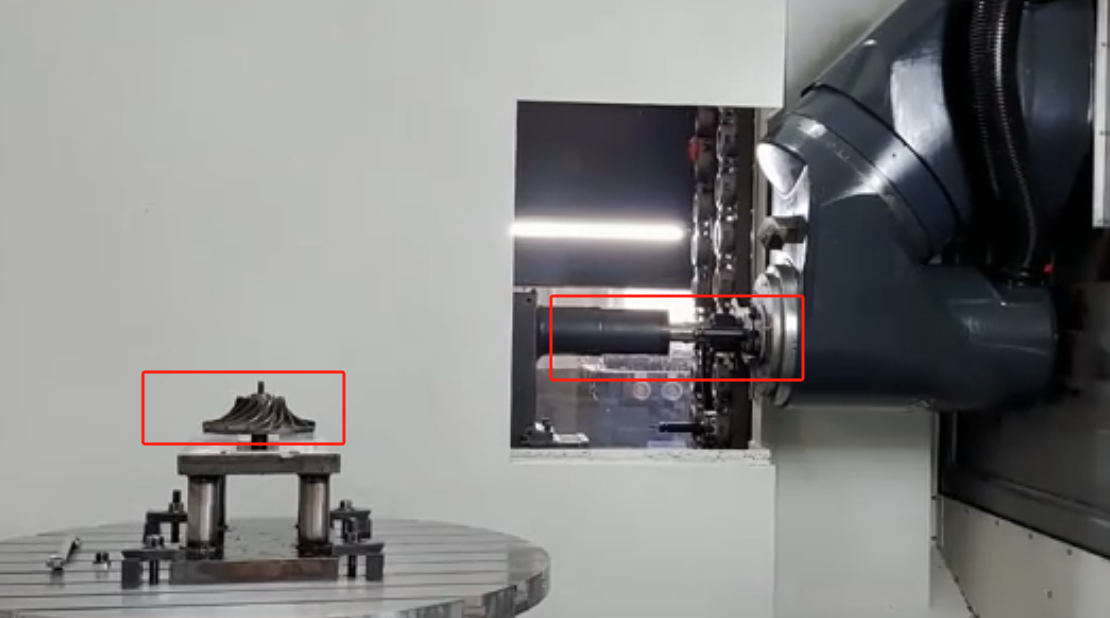
The chosen 5-axis CNC machining center for this project was the DMG MORI NLX 2500 SY|700, recognized for its high rigidity, accuracy, and ability to handle challenging materials like titanium. Its integrated spindle design and rotary tilting table (B-axis and C-axis) enable full 5-axis simultaneous machining, crucial for efficient and accurate production of our component.
Process Planning
Step 1: CAD/CAM Design
Utilizing Siemens NX software, the 3D model was meticulously designed, ensuring all geometric complexities were accurately represented. CAM programming was executed with hyperMILL, optimizing tool paths for minimal cycle time and maximum material removal rate while preserving tool life.

Step 2: Tooling Strategy
A combination of solid carbide end mills, ball nose cutters, and gun drill bits were selected to tackle various machining operations. Tungsten carbide tools were preferred for their heat resistance and durability when working with titanium.
Adaptive clearing strategies and high-speed machining techniques were implemented to minimize vibration and ensure efficient chip evacuation.
Step 3: Fixture Design
A custom hydraulic clamping fixture was designed to securely hold the workpiece during aggressive cutting operations while minimizing distortion.
Machining Execution
Initial Setup
The workpiece was precisely mounted on the rotary table using the custom fixture, ensuring repeatability and accuracy.
Calibration routines were run to verify the machine's geometry and tool lengths.
Machining Phases
Roughing: Heavy roughing cuts were performed using a trochoidal milling strategy to remove bulk material, followed by semi-finishing passes to approach the final shape.
Semi-Finishing & Finishing: Ball nose cutters were employed for contouring operations, with continuous 5-axis motion maintaining a consistent scallop height for a smooth surface finish.
Hole Drilling & Tapping: Deep holes were drilled using gun drills under high-pressure coolant to maintain straightness and prevent tool wear. Taps were then used for thread creation under controlled feed rates.
Final Inspection: The completed part underwent rigorous inspection using a coordinate measuring machine (CMM) to validate dimensional accuracy and surface finish parameters.
Challenges & Solutions
Thermal Expansion: To mitigate thermal growth of the titanium workpiece, machining was conducted in a temperature-controlled environment, and tool paths included strategic cooling periods.
Tool Wear: Frequent tool monitoring and adaptive feed rates based on real-time load monitoring helped extend tool life and maintain part quality.
Accuracy Over Long Cycles: Regular machine calibration and usage of high-quality linear scales ensured positional accuracy throughout extended machining cycles. 
Conclusion The successful execution of this project underscores the pivotal role of 5-axis CNC machining centers in addressing the stringent demands of modern manufacturing, particularly in the aerospace sector. By leveraging advanced software, strategic tooling, and meticulous planning, we achieved unparalleled precision and efficiency, turning a complex blueprint into a tangible, high-performance component. This case study serves as a testament to the transformative power of 5-axis technology in pushing the boundaries of manufacturing capabilities.

|


 Machine Selection